Saturday, 20 September 2014

Great Northern War

Last weeks game was set during the Great Northern War between Sweden and Russia.

The rules used were, I believe, a modified set from  Die Kriegskunst .

(Die Kriegskunst are a Seven Years War variant from General de Brigade.)

Swedes on the attack.

Russian left flank slowly moving up the ridge.

 The Russian army had a firm foothold on a ridge running across the table. Their artillery was behind a stone redoubt, masses of cavalry off to their right flank and even more infantry on their left.
 The Swedes advanced on an angle toward their left. The cavalry moved up with the infantry and the artillery started ranging in on the Russians on the ridge.
Swedes moving up the ridge

Their target.

 The Russians countered by sending their cavalry forward and although outnumbering the Swedes, were pushed back due to the quality of the Swedish cavalry.
Swedish command

 The initial infantry attacks went the way of the Russians and their left flank infantry started moving down the ridge to outflank the Swedes.
The initial Swedish attack

 Slowly the Swedish cavalry on the left took control and gave the Swedes an advantage. Allowing the cavalry to turn on the flank of the Russians.


 The Swedish infantry went in again and this time managed to succeed. The Russian artillery gave up the fight and left the field.

 Despite some initial success the Russians on the left were rapidly running out of support and were now having to face the whole Swedish army.
Swedish cavalry commander.

With the Russian cavalry running away along with their artillery the rest of the Russian army had no choice but to abandon the ridge to the Swedish army.

Another great game with the boys.

Thanks to Chris for everything!

Saturday, 6 September 2014

20mm Napoleonics

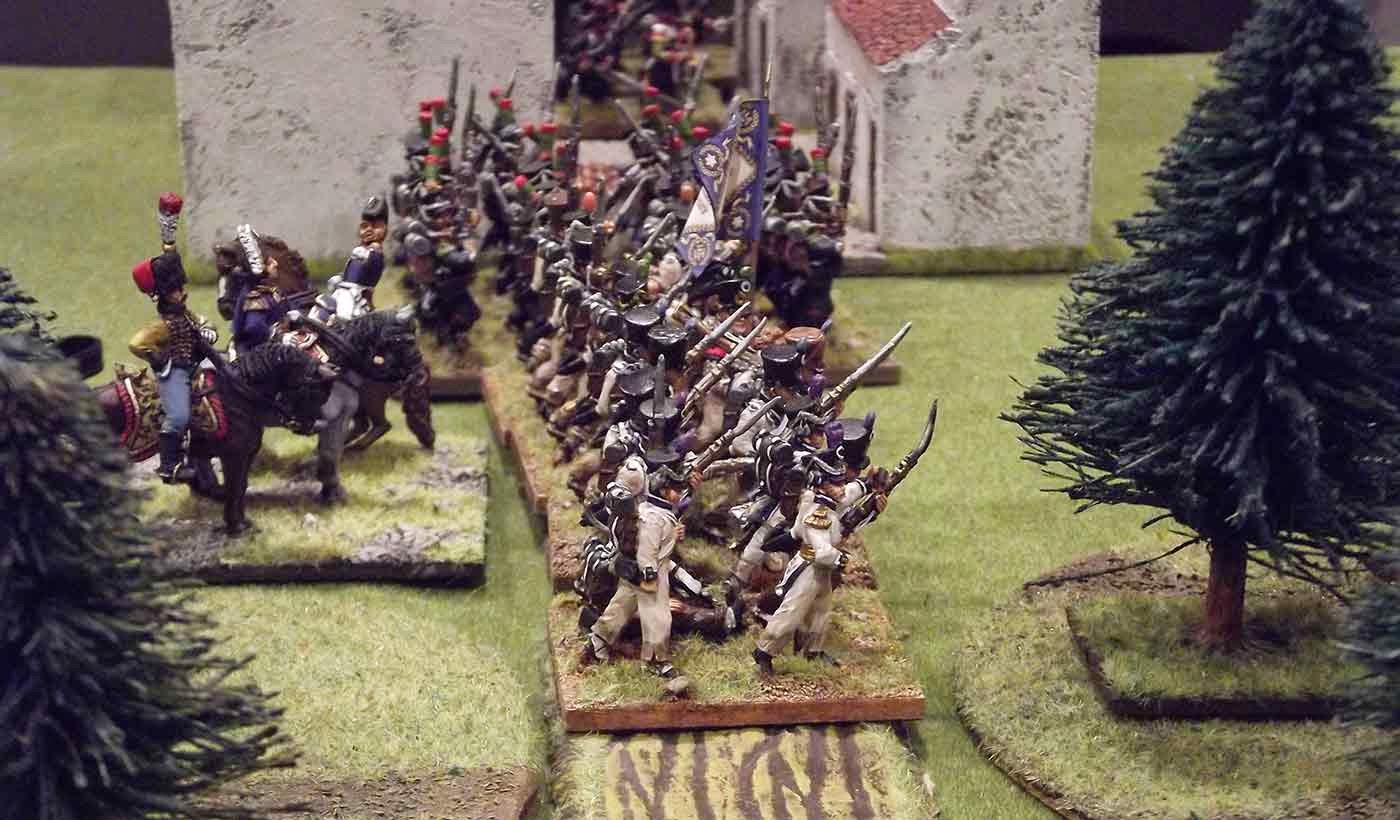
Wednesday night's game was a chance to drag out our 20mm Napoleonic collection.

The game had a French allied army made up of French and Bavarians massed together, and a Brunswick force against the armies of Austria and Saxony.


 All four armies entered from different points of the table and they were all after control of the bridge in the centre of the table.

 As it happened the Austrians squared off against the Brunswickers on this side of the bridge.
 The Saxons, on the other side of the river are racing the French and Bavarians to the other end of the the bridge.
The troops from Brunswick prepare for the Austrian attack.


Austrians and Brunswickers exchange shots before charging into each other.

 The French and Saxon cavalry charge into each other as their infantry advance towards the bridge.

 French cavalry slowly overcome the Saxon cavalry and prevent the Saxon infantry from getting to the bridge.
Getting a bit tight for the Saxons here.

 The Austrian infantry make it to the bridge but the Brunswick army charges into them and forces them back.

The battle in full swing.

 The French charge into the units around the bridge and send them back to where they came from.
With the Brunswick army now also forcing the enemy back on their side of the bridge the day belongs to the French and their allies, the Brunswickers and Bavarians.

Enjoyable game even if I was on the wrong side, again!


Sunday, 24 August 2014

Pike and Shotte ECW

The Royalist Army was under the command of Lord Hopton and Sir William Waller commanded the forces of Parliament at this game based on the battle of Cheriton.
  This was our first crack at the Pike and Shotte rules. David was running the game and had a fair grip of the rules but as for the rest of us, next to zip!! This made for an interesting night, all I can say is that it is a good thing we are all mates and have been for many years! It wasn't that bad really!

 In the foreground the Royalists and skulking in the trees are some of Parliaments infantry.
Parliamentary Army

Some of Waller's Infantry

Waller's Cavalry

 The battle began with the Parliamentary army advancing towards the Royalists. The Royalist cavalry, although outnumbered three to two, charged head long into the Parliamentary cavalry on the extreme flank . It didn't really work and the Royalists were pushed back with many loses.
 The front lines were now close enough to exchange musket fire. Again Parliament outnumbered the Royalists but with half of their army either refusing  to move or being very slow to move up this gave the Royalists a slight advantage.
Blue coated Parliamentary troops slowly moving to the flank.

Royalists waiting for the enemy to come within range.

Looking down the Parliamentary line

Royalist command waving the troops forward.

 After regrouping the Royalist cavalry had another go but this time the Parliamentary cavalry attacked them in the flank. This move caused even more casualties to the Royalists but also left them exposed to flanking fire from the near by infantry.

Between the muskets of the infantry and a bunch of dragoons that had dismounted behind a hedge on Parliaments flank, casualties on the Parliamentary cavalry began to rise dramatically. So much so that they were forced to retire.

The Royalist cavalry, although reduced in number, were now free to attack the rear of the Parliamentary lines.
Parliaments cavalry retreat toward the rear.

 Waller now had to force the issue and so a unit of Parliamentary pike charged the Royalist gun.
Although the gun inflicted a few casualties on the pike they still made it into contact.

 Getting late in the night we were running out of time and a decision had to be made. I, of course, could see that the Royalists were gaining the upper hand but the overall decision was that the game should be called a draw .

And so it was called at that and we had completed our first game of Pike and Shotte.

Great to get our ECW troops out of their boxes after so many years being packed away.
Thanks to David for putting up with the rest of us and running the game.

Monday, 11 August 2014

Black Powder Napoleonics

Last weeks game was a little Napoleonic encounter using the Black Powder rules.

With the French starting at one end of the table and the British starting at the other end both were trying to secure various terrain features. These were the hills and the towns and they varied in value from 1 to 6 points and in some cases were of different values for each side.

Cameron Highlanders lead the British towards the French.
The British end.

The French end.


 The French left got off to a good start and were the first to get to the town in the centre of the table.
 The French right were not so fast and could only manage a single move each turn.
 The British centre and right hand brigades advancing towards the town.
French left brigade.


 With numerical superiority in artillery, the French set up two batteries in the centre. These guns took a heavy toll on the advancing British.
 The French had all the good stuff. The high ground, the woods in the centre and the town. From here it was going to be tough going for the British.

 The only gun for the British was this RHA piece. Although shooting well it was outnumbered 3 to1.
 The British spent a couple of turns shooting at the defenders of the town. Unable to make any real progress they charged with the Gordon Highlanders leading the way. The high defensive values of buildings was the difference and the Highlanders were pushed back.
 The French cavalry began on the extreme left and spent the battle trotting across to the right and then charged the lone British cavalry unit.
 With casualties mounting on the British, units started to break and then Divisions.

First the British centre was reduced to just one third of it's starting strength and then their left flank brigade broke leaving the single cavalry unit to cover 3/4 of their front.
The British right was almost at breaking point having tried several times to dislodge the French in the town. There was no hope left and the British withdrawal was now underway!

Thanks to Gav for coming up with the scenario and taking the photos.