Sunday, 24 August 2014

Pike and Shotte ECW

The Royalist Army was under the command of Lord Hopton and Sir William Waller commanded the forces of Parliament at this game based on the battle of Cheriton.
  This was our first crack at the Pike and Shotte rules. David was running the game and had a fair grip of the rules but as for the rest of us, next to zip!! This made for an interesting night, all I can say is that it is a good thing we are all mates and have been for many years! It wasn't that bad really!

 In the foreground the Royalists and skulking in the trees are some of Parliaments infantry.
Parliamentary Army

Some of Waller's Infantry

Waller's Cavalry

 The battle began with the Parliamentary army advancing towards the Royalists. The Royalist cavalry, although outnumbered three to two, charged head long into the Parliamentary cavalry on the extreme flank . It didn't really work and the Royalists were pushed back with many loses.
 The front lines were now close enough to exchange musket fire. Again Parliament outnumbered the Royalists but with half of their army either refusing  to move or being very slow to move up this gave the Royalists a slight advantage.
Blue coated Parliamentary troops slowly moving to the flank.

Royalists waiting for the enemy to come within range.

Looking down the Parliamentary line

Royalist command waving the troops forward.

 After regrouping the Royalist cavalry had another go but this time the Parliamentary cavalry attacked them in the flank. This move caused even more casualties to the Royalists but also left them exposed to flanking fire from the near by infantry.

Between the muskets of the infantry and a bunch of dragoons that had dismounted behind a hedge on Parliaments flank, casualties on the Parliamentary cavalry began to rise dramatically. So much so that they were forced to retire.

The Royalist cavalry, although reduced in number, were now free to attack the rear of the Parliamentary lines.
Parliaments cavalry retreat toward the rear.

 Waller now had to force the issue and so a unit of Parliamentary pike charged the Royalist gun.
Although the gun inflicted a few casualties on the pike they still made it into contact.

 Getting late in the night we were running out of time and a decision had to be made. I, of course, could see that the Royalists were gaining the upper hand but the overall decision was that the game should be called a draw .

And so it was called at that and we had completed our first game of Pike and Shotte.

Great to get our ECW troops out of their boxes after so many years being packed away.
Thanks to David for putting up with the rest of us and running the game.

Monday, 11 August 2014

Black Powder Napoleonics

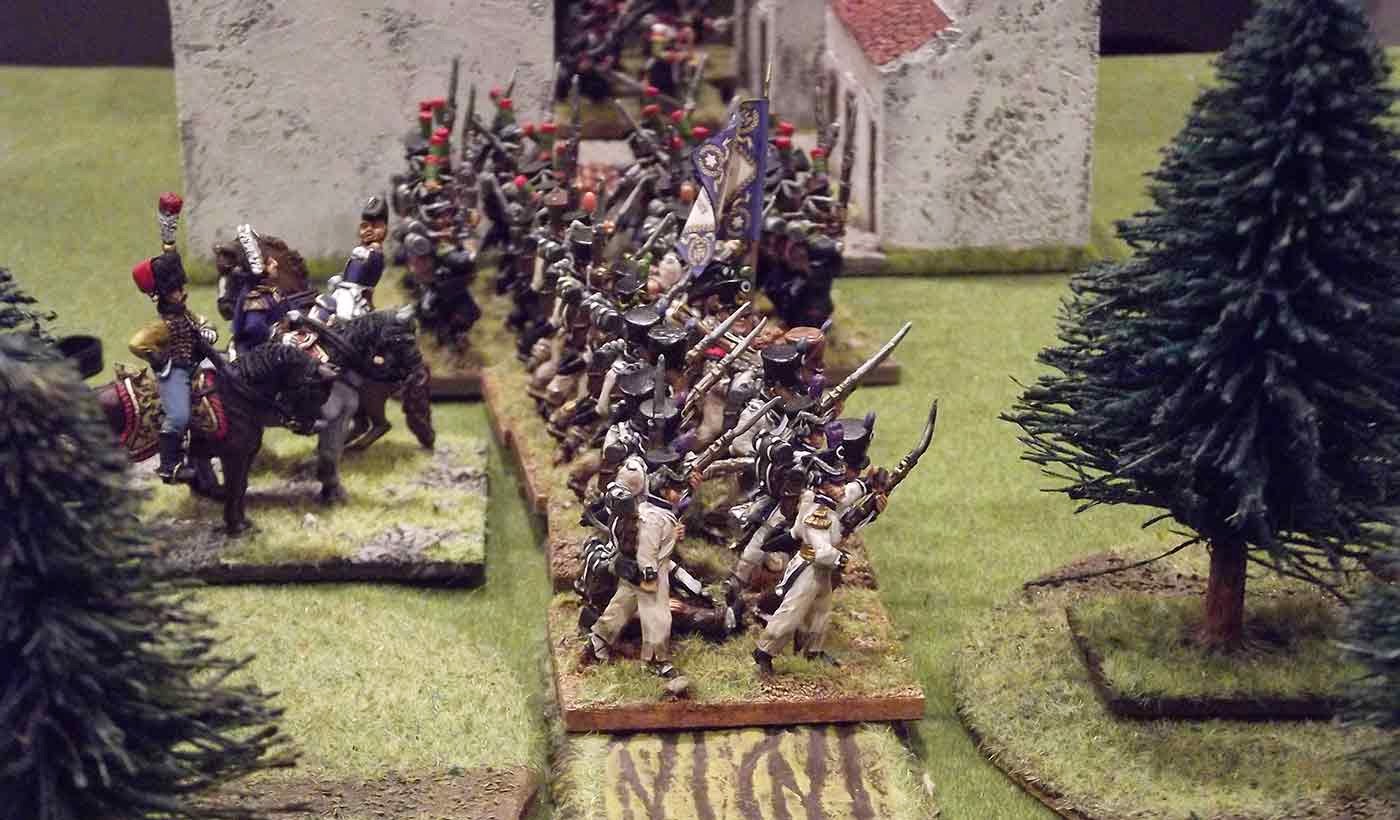
Last weeks game was a little Napoleonic encounter using the Black Powder rules.

With the French starting at one end of the table and the British starting at the other end both were trying to secure various terrain features. These were the hills and the towns and they varied in value from 1 to 6 points and in some cases were of different values for each side.

Cameron Highlanders lead the British towards the French.
The British end.

The French end.


 The French left got off to a good start and were the first to get to the town in the centre of the table.
 The French right were not so fast and could only manage a single move each turn.
 The British centre and right hand brigades advancing towards the town.
French left brigade.


 With numerical superiority in artillery, the French set up two batteries in the centre. These guns took a heavy toll on the advancing British.
 The French had all the good stuff. The high ground, the woods in the centre and the town. From here it was going to be tough going for the British.

 The only gun for the British was this RHA piece. Although shooting well it was outnumbered 3 to1.
 The British spent a couple of turns shooting at the defenders of the town. Unable to make any real progress they charged with the Gordon Highlanders leading the way. The high defensive values of buildings was the difference and the Highlanders were pushed back.
 The French cavalry began on the extreme left and spent the battle trotting across to the right and then charged the lone British cavalry unit.
 With casualties mounting on the British, units started to break and then Divisions.

First the British centre was reduced to just one third of it's starting strength and then their left flank brigade broke leaving the single cavalry unit to cover 3/4 of their front.
The British right was almost at breaking point having tried several times to dislodge the French in the town. There was no hope left and the British withdrawal was now underway!

Thanks to Gav for coming up with the scenario and taking the photos.

Sunday, 27 July 2014

Battle of Alma.

Last weeks game was a 15mm Volley and Bayonet game based on the Battle of Alma.

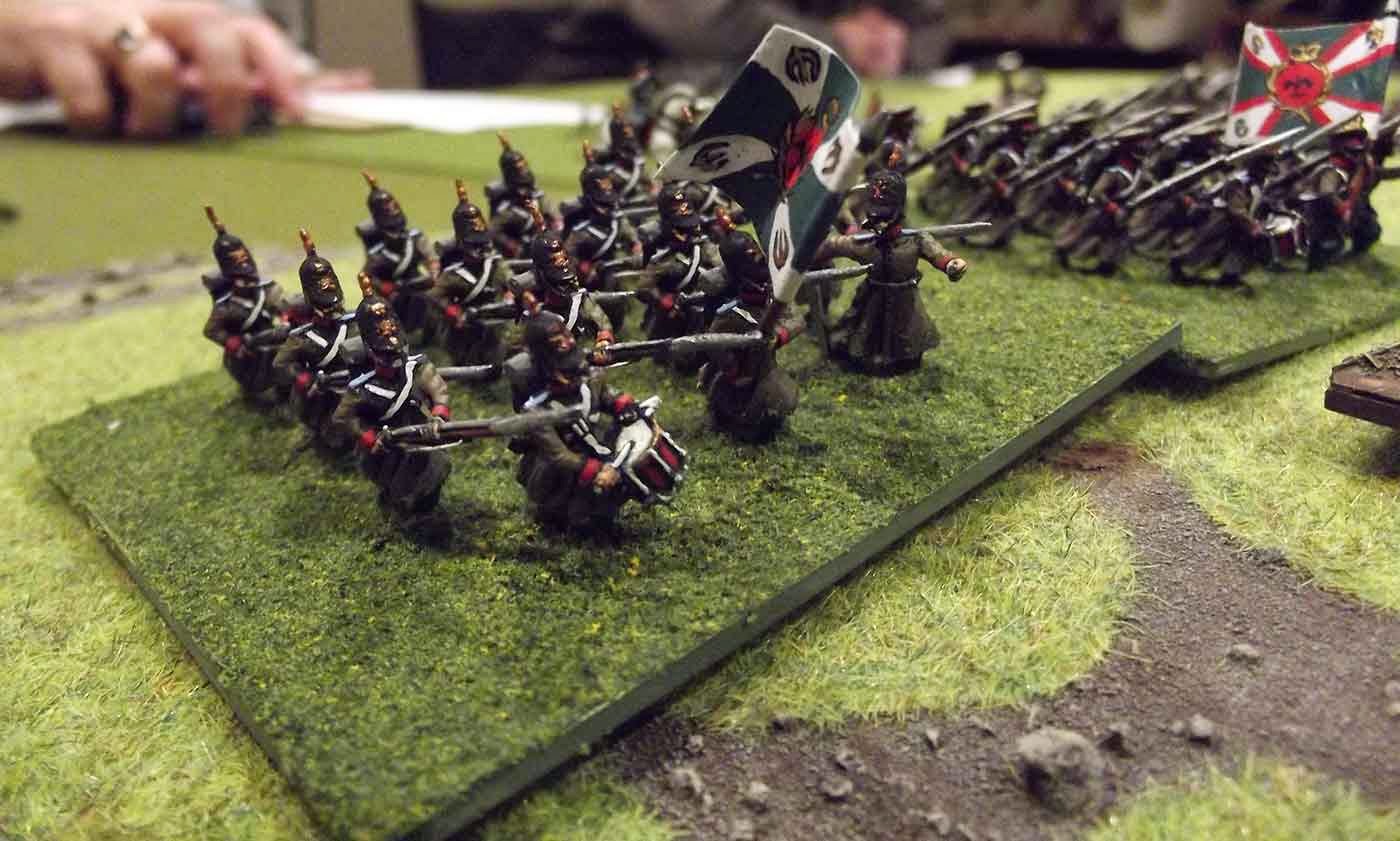
Adrian's wonderful 15mm Crimean war figures were used along with his awesome buildings.

 The Russian army was formed up along the southern ridge and hill above the Alma. Earthworks were erected on the hill.

The British and French would attack across the Alma with a view to taking the pass between the ridge and the hill.
 The British army crossing the Alma....
 .. and the Russian defenders opposite them.
It was slow going for the allies as they crossed the river. Russian guns were eyeing up their targets.
French and British troops crossing the Alma.

British command.

 The first British attack on the redoubt, nearest to the pass, was pushed back. The British units involved being forced back to the river. The attack on the end redoubt was more successful with only one unit being badly damaged.
The defeated British running back over the river.

 On the other flack the French were having a successful time. Having charged up the ravines into the waiting Russians only to see them fall back. The Russians sent their reserves to plug the gap but these Frenchmen were on a roll. Marching down the ridge they planned on rolling up the flank.
The pass was holding but the flanks were caving in.

The British cavalry has beaten off the Russian cossacks on the flank and are now moving onto the rear of the Russians on the hill. The British take the first redoubt and prepare for another attack on the next redoubt.
 The British are now on a roll.  Second redoubt falls and the pass is in sight for the British.
French and British flank forces about to meet in the centre. The Russians have had enough and quit the field.
Close up of a British Guards regiment.

The Highland regiments.

Another guards regiment.

Thanks to Adrian for supplying all the figures and buildings, and for organising and running the game.

Wednesday, 16 July 2014

Action at Martin farm.

The lads meet up for a game last week at "The Mess". The game was AWI using the brigade level Fire& Fury rules with some slight modifications to suit.

The British were camped in some open fields when they received warning that an American force was heading their way.

Americans arriving on the battlefield.
 
  Forming up along the edge of the road the British await the arrival of the Americans.
 The Brit's German allies take up position on the right flank.

 The battle begins with the Americans moving onto the table and advancing toward the British lines.

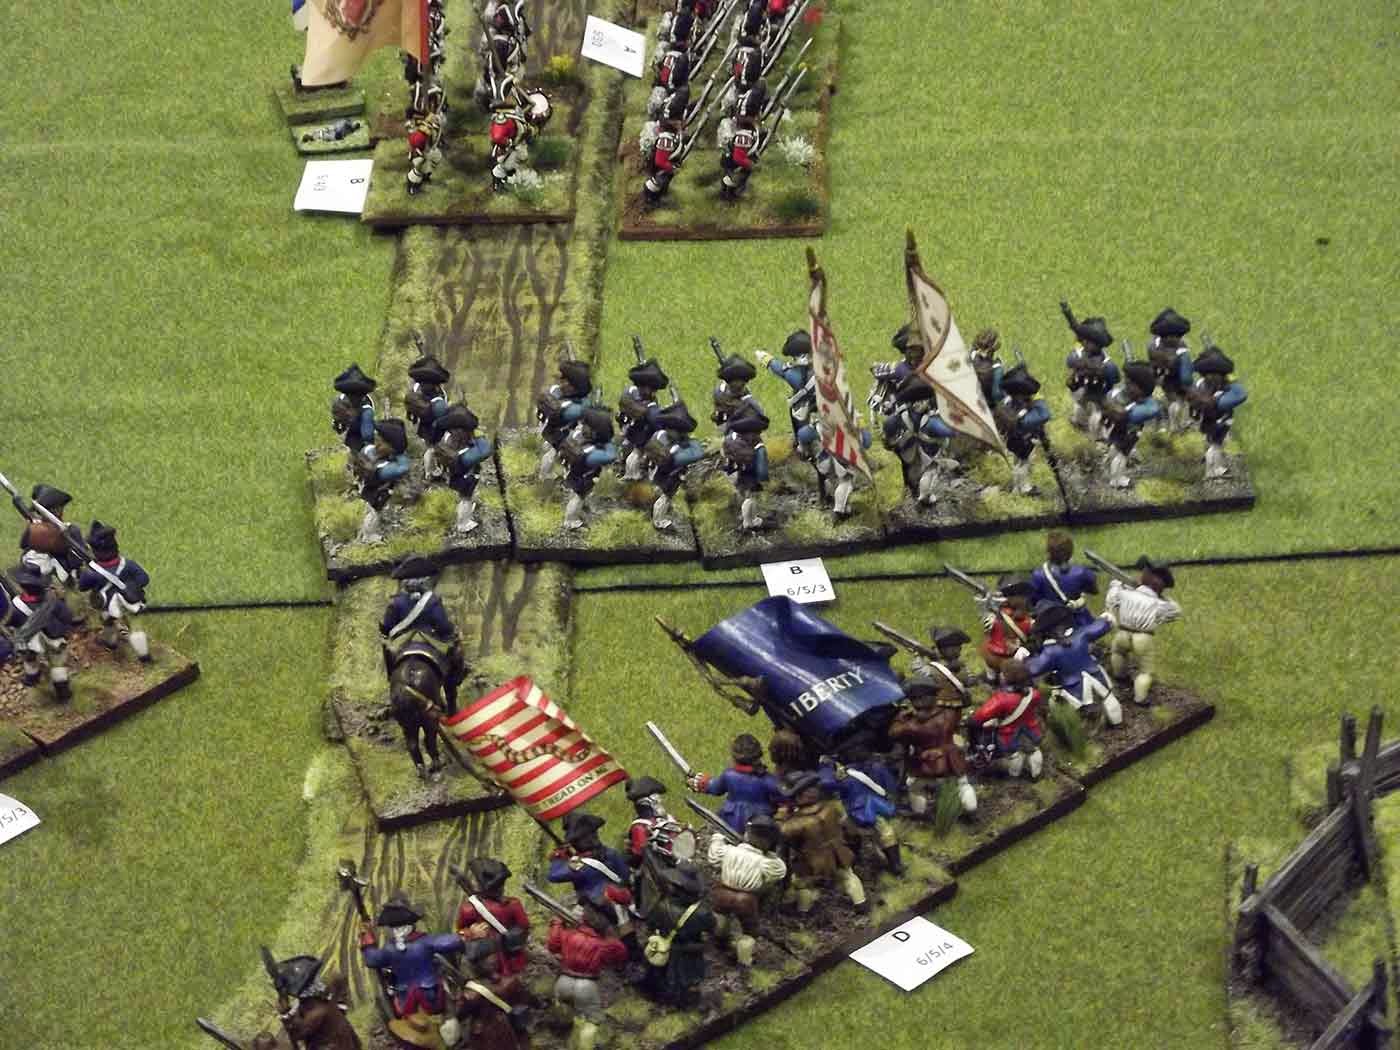
 Deciding that attack is the best form of defence the British charge across the road straight into the American line.

 Morgan's Riflemen outflanking the British lines. Their extra range for being armed with rifles was beginning to hurt the British light infantry.

 The charge in the centre was working a treat. The Americans were going backwards.

 The American left flank began their attack on the Germans, in the hope of pushing them back into camp.
 At this point the lone French unit swings round on the exposed British flanks and opens fire.
 Too much for these Red Coats and the British retreat back to their lines.
 The American attack is now in full swing and, having discovered a ford further down stream from the bridge, send Morgan's men off to cross the river and attack the rear of the British.
 Meanwhile the Americans on the other side of the bridge engage the British giving Morgan's boys more time to cross unhindered.
 The attack on the Germans didn't go so well for the the Americans. Steady fire from the infantry and the artillery was too much for them and they were forced to retire.
But in the end it was not enough. With the riflemen coming around the flank and their centre severely weakened from their attack the British were now too weak to hold off the Americans. The camp would have to abandoned to the victorious Americans.